Building a website is an essential task for businesses and individuals looking to establish their online presence. In this comprehensive guide, we will explore how to build a professional website using Wpbakery, a powerful and user-friendly page builder for WordPress. By following these step-by-step instructions, you’ll be able to create stunning web pages without any coding knowledge.
Understanding Wpbakery
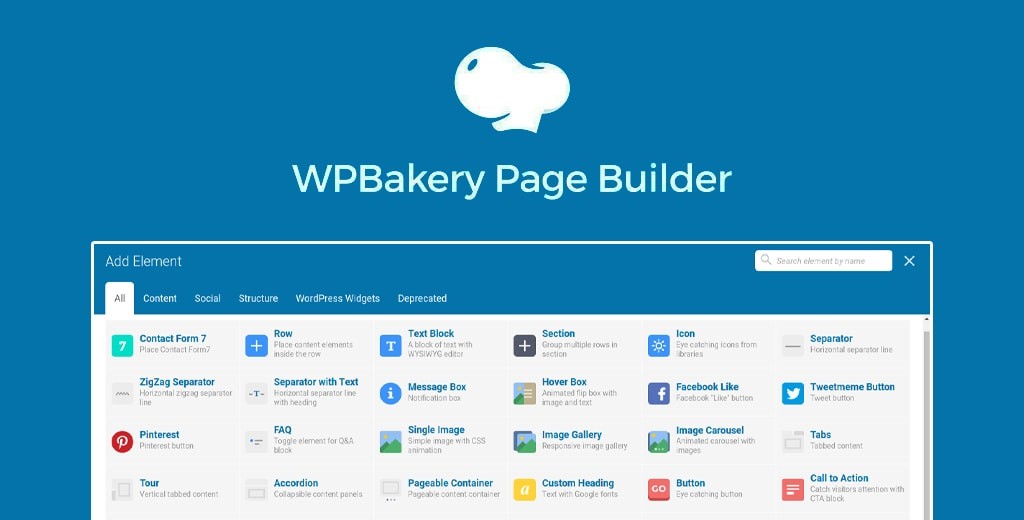
Wpbakery, formerly known as Visual Composer, is a popular drag-and-drop page builder plugin for WordPress. It provides a visual interface that allows users to create and customize web pages effortlessly. With Wpbakery, you can design visually appealing layouts, add various elements, and modify your website’s appearance without touching a single line of code. Now, let’s get started with the step-by-step process of building your website.
Step 1: Setting up WordPress
Before we begin using Wpbakery, it’s essential to have a WordPress website up and running. If you haven’t installed WordPress yet, follow these simple steps:
- Choose a domain name and web hosting provider.
- Install WordPress through your hosting provider’s control panel or using the famous “5-minute install.” Configure your basic website settings, such as site title, tagline, and permalink structure.
Top 10 Domain and Hosting providers
Selecting a reliable domain and hosting provider is crucial for the success and performance of your website. Here are ten top domain and hosting providers, along with reasons why you might consider them:
Bluehost
- Bluehost is officially recommended by WordPress and offers a range of hosting plans. It provides excellent customer support, a user-friendly interface, and reliable hosting services.
SiteGround
- SiteGround is known for its top-notch performance, reliable customer support, and innovative technologies. They offer managed WordPress hosting with great speed and security.
HostGator
- HostGator is a popular choice for beginners. They offer affordable hosting plans, a user-friendly control panel, and 24/7 customer support.
A2 Hosting
- A2 Hosting is well-known for its speed and reliability. They provide high-performance hosting solutions with a strong emphasis on developer-friendly features.
InMotion Hosting
- InMotion Hosting offers a variety of hosting solutions with excellent customer support. They are known for providing reliable and high-speed hosting services.
DreamHost
- DreamHost is known for its commitment to privacy and provides a range of hosting plans. They offer robust features and have a solid reputation.
Hostinger
- Hostinger is a budget-friendly option that doesn’t compromise on performance. They offer solid hosting services with a focus on affordability.
WPEngine
- WPEngine specializes in managed WordPress hosting. It provides excellent speed, security, and support tailored for WordPress users.
GoDaddy
- GoDaddy is one of the largest domain registrars and hosting providers. They offer a wide range of hosting plans and domain services with 24/7 support.
Kinsta
- Kinsta is a premium managed WordPress hosting provider. It offers high-performance hosting, excellent scalability, and top-notch security features.
Step 2: Installing and Activating Wpbakery
Once you have WordPress set up, it’s time to install and activate the Wpbakery plugin. Here’s how to do it:
- Login to your WordPress admin panel.
- Navigate to the “Plugins” section and click on “Add New.”
- In the search bar, type “Wpbakery.”
- Locate the Wpbakery Page Builder plugin and click on “Install Now.”
- After installation, click on “Activate” to activate the plugin.
Step 3: Familiarizing Yourself with Wpbakery’s Interface
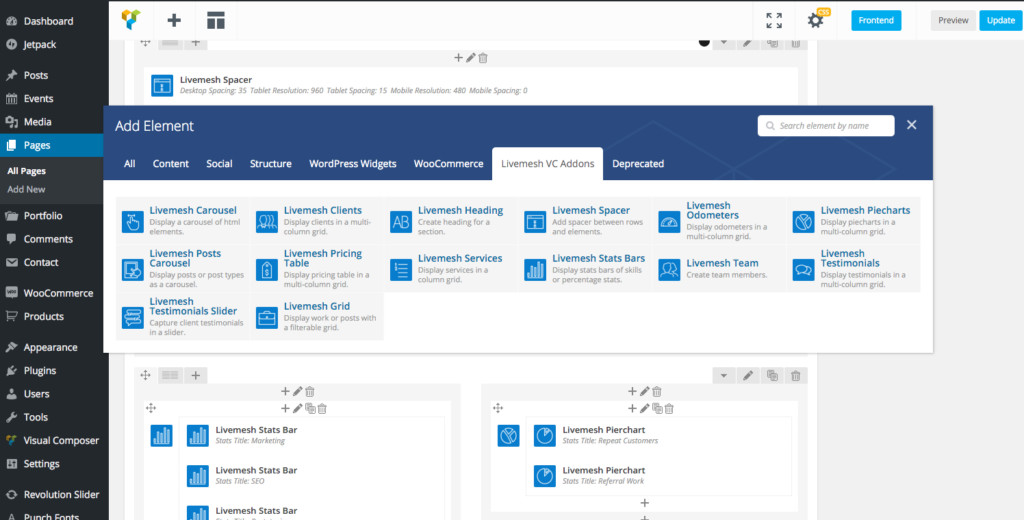
Before creating your first page, it’s important to understand the Wpbakery interface. The interface consists of various elements, including the backend editor, backend editor toolbar, frontend editor toolbar, and elements library. Take some time to explore these elements and get comfortable with their functionalities.
Step 4: Creating a New Page
Let’s start building your first page with Wpbakery. Follow these steps:
- From the WordPress admin panel, navigate to “Pages” and click on “Add New.”
- Give your page a title and click on “Edit with Wpbakery” or “Backend Editor.”
- You’ll be directed to the Wpbakery backend editor, where you can begin designing your page.
Step 5: Adding and Customizing Elements with Wpbakery

Wpbakery offers a wide range of elements that you can add to your page. Here are some common elements and how to customize them:
Adding Text Blocks
- Click on the “Text Block” element.
- Enter your desired text in the text editor.
- Use the toolbar options to format the text, change fonts, and add links.
Inserting Images and Videos
- Click on the “Image” or “Video” element.
- Upload your media file or insert a URL.
- Customize settings like size, alignment, and captions.
Incorporating Buttons and Call-to-Actions
- Click on the “Button” element.
- Customize the button’s text, size, color, and link.
Building Columns and Rows
- Click on the “Row” element.
- Choose the desired column layout.
- Drag and drop elements into each column.
Enhancing Visual Appeal with Backgrounds and Colors
- Click on the section or element you want to modify.
- Go to the “Design Options” tab.
- Adjust background images, colors, gradients, and other visual settings.
Utilizing Pre-built Templates
- Click on the “Templates” button in the backend editor toolbar.
- Choose a pre-built template that suits your needs.
- Customize the template to match your brand and content.
Step 6: Arranging and Organizing Elements
Wpbakery allows you to easily rearrange elements on your page. Here’s how:
- Hover over an element.
- Click and drag the element to the desired location. Release the mouse button to drop the element into place.
Step 7: Configuring Page Settings and Layout
Wpbakery offers advanced options to configure your page’s settings and layout. These options include full-width settings, sidebar options, and more. Follow these steps:
- Click on the “Gear” icon at the top-right corner of the Wpbakery backend editor.
- In the “General” tab, configure settings like page width, responsiveness, and custom CSS.
- In the “Sidebar” tab, select the desired sidebar layout or choose full-width.
- Explore other tabs and configure additional settings as needed.
Step 8: Saving and Publishing Your Page
Once you’ve designed your page, it’s time to save and publish it. Follow these steps:
- Click on the “Save Changes” button at the top-right corner of the backend editor.
- Preview your page to ensure everything looks as intended.
- Click on the “Publish” button to make your page live on your website.
Step 9: Optimizing Your Wpbakery Website for SEO
To ensure your website is search engine optimized, follow these best practices:
Optimizing Page Titles and Meta Descriptions
- Install an SEO plugin like Yoast SEO or Rank Math.
- Edit each page’s title and meta description to include relevant keywords and attract clicks from search results.
Utilizing SEO Plugins
Configure the settings of your chosen SEO plugin to enhance your website’s overall SEO performance.
Enhancing Page Load Speed
- Compress and optimize your images.
- Use a caching plugin to improve page load times.
- Minimize the use of external scripts and plugins.
Step 10: Troubleshooting Common Issues
If you encounter any issues while using Wpbakery, refer to the following resources:
- Wpbakery Documentation: wordpress.org/support/plugin/js_composer/
- Community Forums: wordpress.org/support/forums/
- Wpbakery Support: wpbakery.com/support/
Conclusion
You’ve learned how to build a website using Wpbakery, from setting up WordPress to creating and customizing pages. With Wpbakery’s intuitive interface and powerful features, you can design professional-looking web pages without any coding knowledge. Remember to optimize your website for SEO and seek support whenever you encounter issues. Enjoy building your stunning website with Wpbakery!